Are you ready to welcome longer sunnier days?
Well, nearly time to say hello to beaches, long drives, ice cream, cute dresses, flip flops… ahh I could go on and on! It really doesn’t get much better than warm nights (my fave!), dinner parties and picnics in the park. 🌸🌸🌸
This spring, bring a breath of fresh air into your home, give your rooms a little pick-me-up with these bright and cheery touches around your home – all without spending a fortune!
It’s time to channel your creative side and welcome the new season in style. Although all seasons have their perks, spring is just special in the way that it makes you feel.
It’s the time of the year where nature starts to shake off the hold of winter, opening your eyes (and heart!) to the inviting explosion of sight, sound and colour.
So, I wanted to cheer you up with a lovely spring inspired DIY project.
It’s simple, easy to make and most importantly cost effective. I have a couple of projects, so I will be doing a separate post for each one so that it doesn’t get too lengthy to read.
This project is a floral reindeer wall hanging. I love reindeers and florals and together they create magic!
So without further ado, let’s get right into it..
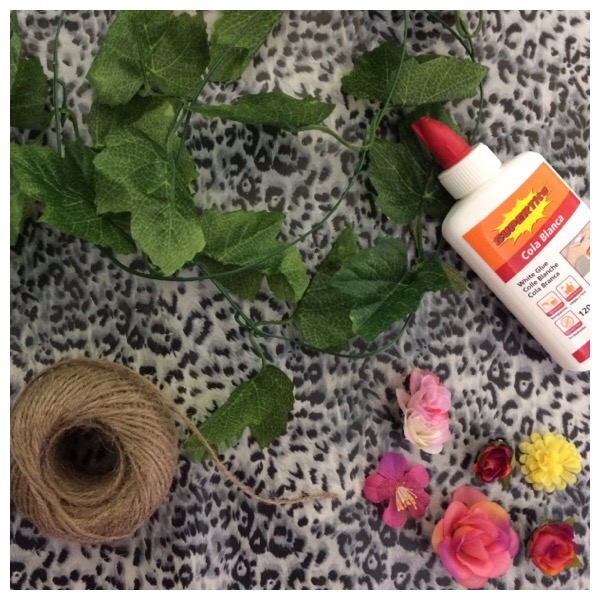
Supplies needed;
* Flowers (plastic)
* Garland of leaves
* Wooden Reindeer (or any shape preferred)
* Glitter
* Ribbins/Sequins
* Scissors/Glue
* Decorative cord
Directions;
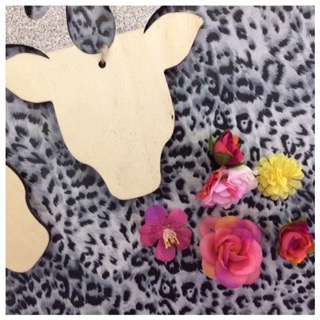
Firstly, you could either use wooden reindeer shape or create one of your own using a template. I was going to use a template but luckily I managed to come across one unexpectedly in the clearance section of a department store. Phew!
P.s you don’t have to use a reindeers, it could be any animal shape you like. I find reindeers to be so cute though!
So, I applied glue to the antlers and sprinkled gold and silver glitter on each reindeer. You can choose your preferred colour of glitter.
You could also use spray paint instead. I felt glitter would make for a lovely eye catching piece.
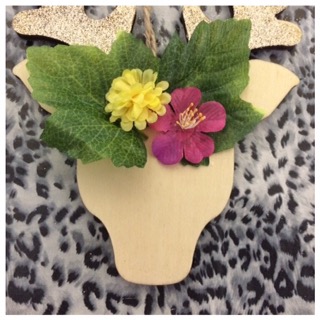
Next, I used an assortment of flowers and placed them around to create a floral crown for the reindeer. Once you’re happy with the flower arrangement, just glue them in place as seen below. As simple as that..
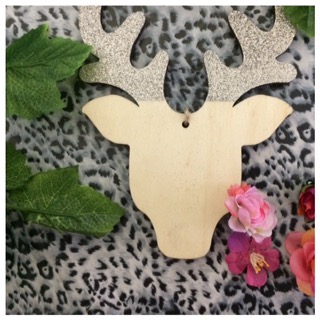
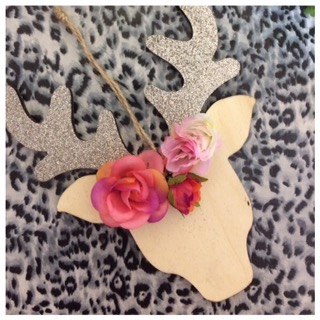
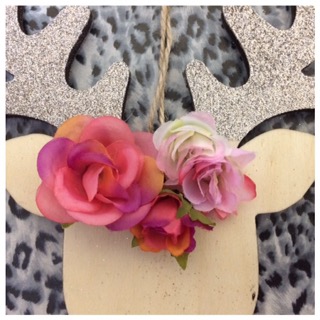
At this point, I had already put the hanging cord in as I knew it would be a little tricky later with the flowers.
I then did the same for the other reindeer except I played with the flower arrangement a little.. I decided to use more of the leaves for this one.


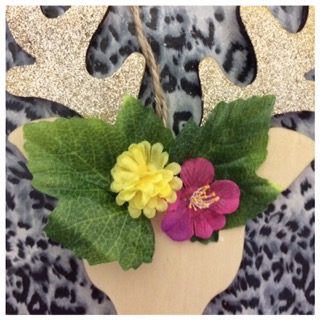
The green leaves add a fresh spring inspired feel, it’s also pleasing to look at.
I was going to add some sequin around the antlers but felt it would’ve looked too busy, besides I loved the fresh and boho chic vibe it gave and so kept it as it was.. What do you guys think? 🌙
The beauty of this project is that it could be customised to any season, holidays or even to your home decor.
For instance, I can see this turning into a wintery project with red berries and a wreath like crown instead of the fresh spring feel.
It’s so simple to make, it hardly takes any time. The best part, it makes for a lovely present for someone too!
Here’s the final look!
Wasn’t that so simple and easy to make. I hope you enjoyed this project, stay tuned for more!
Have a fabulous weekend ahead!
Sheema xx



This is such a cute DIY! I love it
LikeLiked by 1 person
Aww thanks so much lovely, I’m so glad! 💕😘
LikeLiked by 1 person
This is great! Perfect for spring coming up! 🙂
LikeLiked by 1 person
Aww thanks so much, it’s such a cheerful DIY and brings so much colour and happiness to any home decor.. it’s getting me excited for spring already! 💕😘 xx
LikeLiked by 1 person
Oh my gosh this DIY is beautiful – I love it! ❤ 😉
https://busybeeblogweb.wordpress.com
LikeLiked by 1 person
Thank you so much, I thought it’d be perfect for the spring season.. p.s I also love reindeers too! 💕🌸
LikeLiked by 1 person
Yes it would! ❤ Aw me too- they're so amazing 😉
LikeLiked by 1 person
Thanks so much lovely! 💕😘 xx
LikeLiked by 1 person
How cute! I love it!
LikeLike
Aww thank you so much love ❤️
LikeLike